Creative Pumpkin Carving: Make Scary, Spooky & Spirited Jack-O’-Lanterns
Posted on October 21, 2021 at 6:00 am
By Alison Johnson
I have always loved to carve pumpkins into jack-o’-lanterns. There is something about creating a scary or silly face on a pumpkin which brings me great joy!
Dressing up in costume is a close second—the wigs, the face paint, the swinging tails, the cumbersome wings that hit people whenever you turn around. This year, I plan to stick to pumpkins. So I have rounded up some clever ideas to take your jack-o’-lanterns to the next level this Halloween!
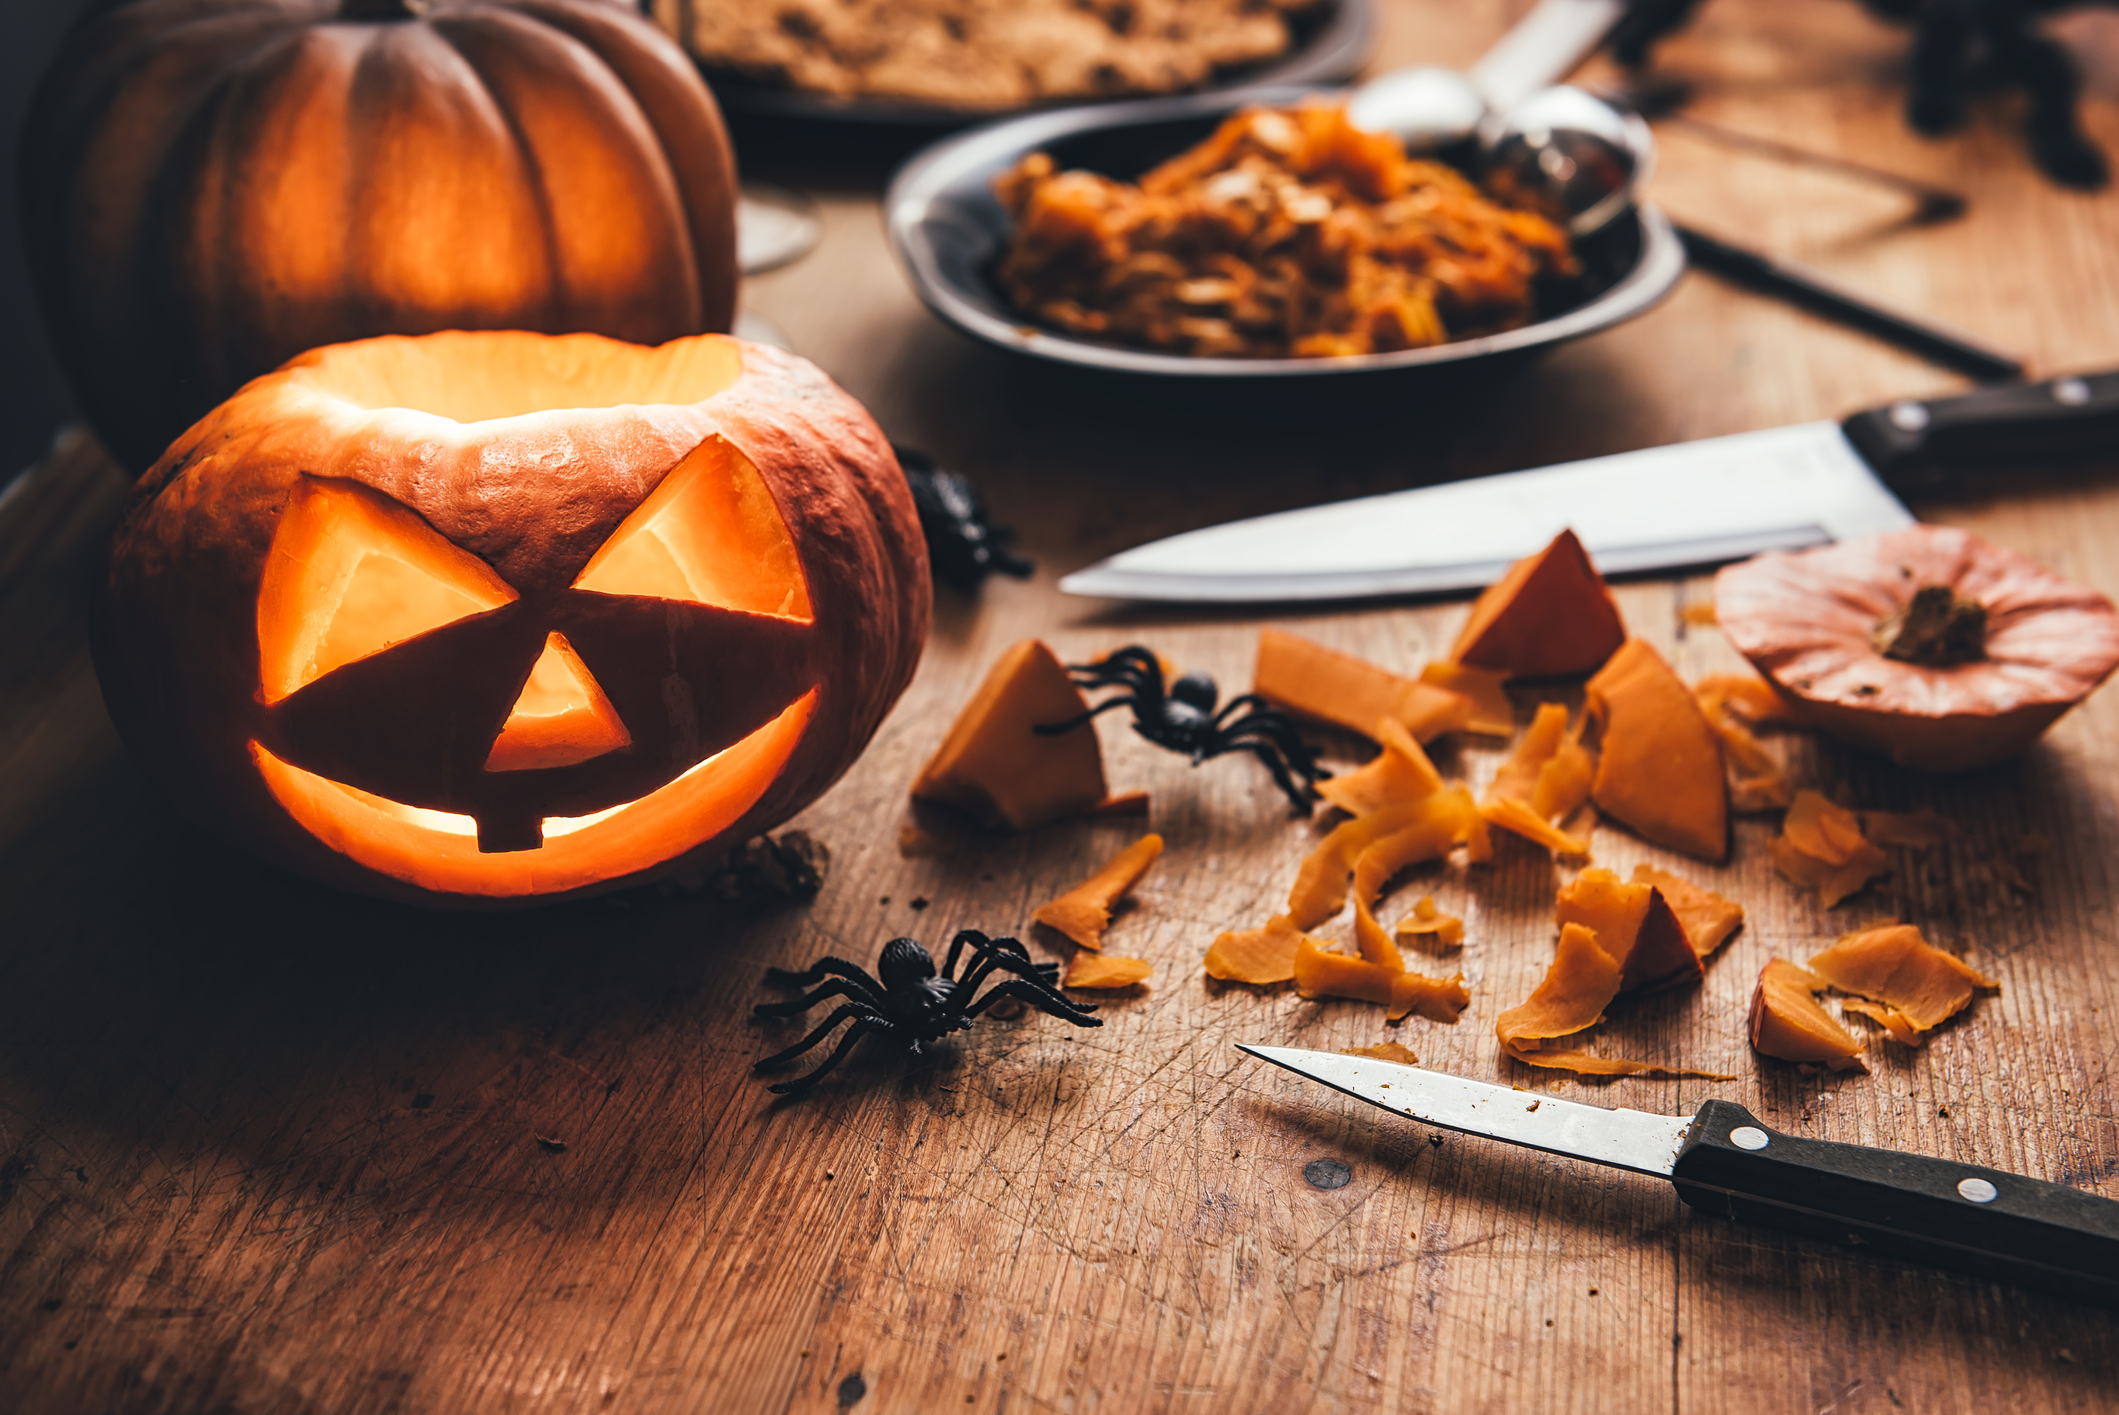
Choosing Your Pumpkin
Your choice of pumpkin can help determine your ultimate design. I always enjoy looking for unique pumpkins—perhaps ones with lumps and bumps, a squished-in side, a twisty stem, or one that leans. Sometimes imperfect pumpkins can be the most fun to carve and give you the most inspiration for unique creations.
Once you have decided on your pumpkin, I recommend taking a long look at it before you start carving and creating. Your pumpkin can inspire your design! Make use of the natural features of the pumpkin—the ridges, bumps, dents, and natural scars—to create or inspire a mean squint, a whimsical look, or a long witch nose!
The Design
If you are attempting to carve a pumpkin for the first time, want a complex carving, or are just a perfectionist, I recommend drawing your design onto paper or on the pumpkin itself. If you are using paper, you can tape the paper onto the pumpkin and use a fork or skewer to poke the outline of your design through the paper into the pumpkin. This way, when you remove the paper, you’ll have a pattern to follow as you are carving.
Once carved, don’t be afraid to highlight your carvings and add some color with paint or permanent marker. A little color can add a bit of drama to a jack-o’-lantern.
Frankenstein’s Pumpkin
How do you feel about Frankenstein’s monster? You can create a mash up of two or three different pumpkins to make Frankenstein’s pumpkin! Use the top of one pumpkin, the middle of another, and the bottom of a third pumpkin to create your memorable monster. Stitch them together with 2-inch pieces of wire, and maybe even add some bolts!
To make it even more monstrous, you can create a scar with stitches. Start by scoring or cutting the surface of the pumpkin using a knife to make the scar. Use a skewer to puncture pairs of holes opposite each other along the length of the scar. Create the stitches by bending a Q-tip, a paper clip, or a piece of wire into a U shape, and press each end into a pair of holes opposite each other. In no time, you’ll have a wonderfully gruesome scar on your creation.
Grin, Sneer or Toothy Smile
A jack-o’-lantern’s grin is, I would say, one of its best features. Why not give it a toothy one?
You have options for making teeth. You can use the seeds from the pumpkin guts. Press the cleaned seeds directly into the carved mouth. If the pumpkin isn’t soft or ripe enough, you can try using the tip of a knife to create small cuts in the pumpkin where you can add the teeth by sliding them into the flesh.
Another option is dried penne pasta, which makes for some surprisingly menacing teeth, especially if painted black. Toothpicks are also a very sharp and scary option for teeth!
Vegetable Props
Consider making props for your jack-o’-lanterns with other vegetables or left-over carved out pieces of pumpkin to add a 3D effect.
Parsnips and carrots can be long noses. For these, carve a hole into your pumpkin where you want the nose to be, making sure to match the diameter of the vegetable which will be the nose. I recommend using a marker to trace a circle on your pumpkin around the end of the carrot or parsnip.
Give your pumpkin some arms and a hairdo with okra or sweet potatoes! There are all sorts of vegetables you could use to make your pumpkin shine. The vegetables aren’t likely to stay fresh for very long though, so I recommend having your pumpkin carving party just a few days before Halloween, depending on your vegetables of choice.
Jack-O’-Lantern Longevity
Here is an idea to help your carved pumpkin last longer!
Carved pumpkins tend to decompose more slowly when the stem is still attached. In the past, I used to clean out the guts of a pumpkin by cutting a hole in the top of the pumpkin and making a lid with the top and stem. However, if you leave the stem in place at the top of the pumpkin, it will continue to share moisture and nutrients to the rest of pumpkin even though it’s not connected to the vine.
Instead, try cutting into the back or bottom of the pumpkin to remove the innards. Bonus: It is much easier to get your candle or light source into the pumpkin from the back or bottom.
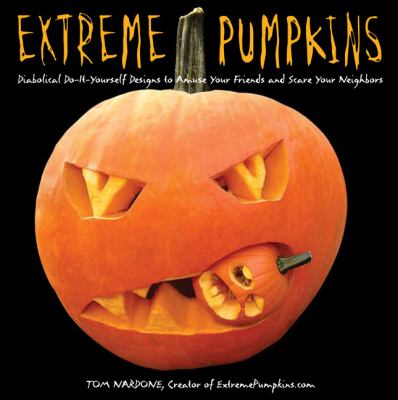
Inspirational Books
There are all kinds of possibilities for pumpkin carving! If you need some inspiration (or just do better with visual instructions), you will find some amazing designs in these books. Happy carving!
- Extreme Pumpkins: Diabolical Do-It-Yourself Designs to Amuse Your Friends and Scare Your Neighbors, by Tom Nardone
- Extreme Pumpkins II: Take Back Halloween and Freak Out a Few More Neighbors, by Tom Nardone
- How to Carve Freakishly Cool Pumpkins, by Sarah L. Schuette

Alison Johnson is an Education and Enrichment Librarian who creates programming and events for ages 8–18. This means she gets to play with everything, including paint messes and mini robots. When she has free time she enjoys watching anything science fiction, hiking trails, and reading with a cup of tea.
Tags: adults, carving, Halloween, jack-o-lantern, parents, pumpkin